
As an Amazon Associate, CozyMorph earns from qualifying purchases. This post may contain affiliate links, which means we may earn a small commission at no extra cost to you.
Get Your Free 7-Day Declutter Checklist
Clear one small space a day in about 15 minutes with our printable plan, and get a calmer home by next week.
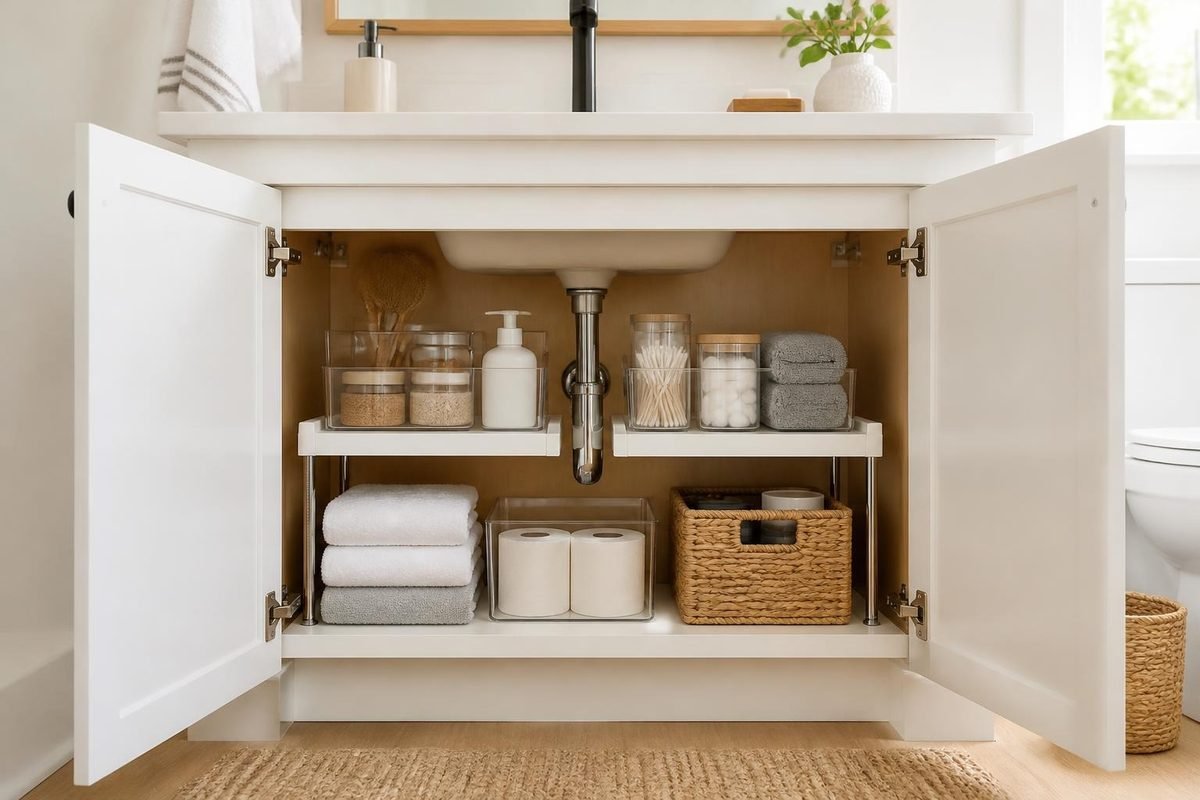
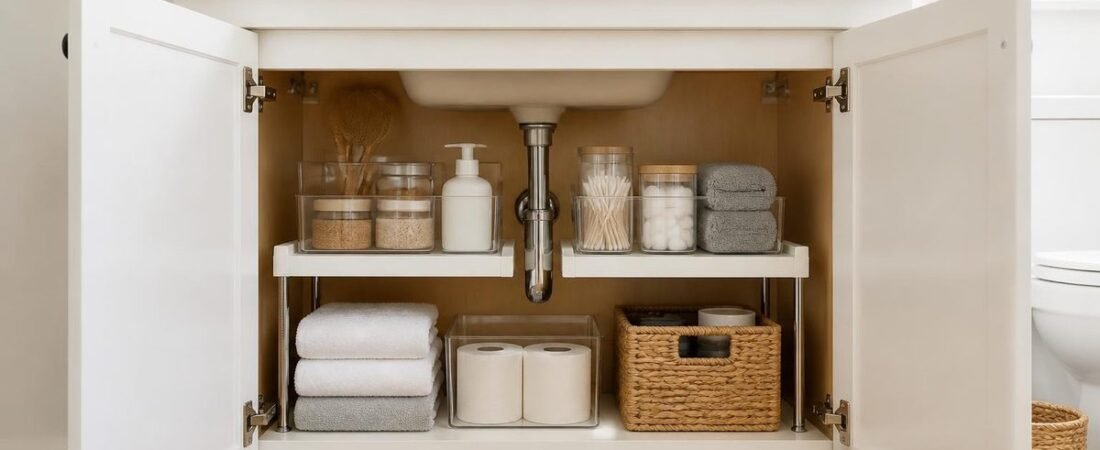
The cabinet under a small bathroom sink is one of the hardest spaces in the home to keep tidy. It is dark, it is often shallow, and a drain pipe runs straight through the middle of it. Most people end up with a jumble of half-used bottles, spare toilet paper, and cleaning supplies that topple over every time the door opens.
The good news is that under sink organization in a small bathroom does not need a renovation. With a tape measure, a clear plan, and a few well-chosen organizers, you can turn that awkward cabinet into storage that actually works. Every idea below is renter-friendly, meaning no permanent changes are required.
Quick Answer
To organize under a small bathroom sink, measure the cabinet and the space around the P-trap first. Clear everything out, toss expired products, and group what’s left by category. Then fit narrow stacking drawers or a two-tier organizer beside the pipe, pull-out bins for the back, light items on the cabinet door, and a waterproof liner on the floor.
Step 1: Measure Your Cabinet (Before You Buy Anything)
The most common reason under-sink organizers fail is that they simply do not fit. Bathroom vanities vary widely, so measure yours rather than relying on a product listing that says “fits most cabinets.”
Typical vanity dimensions
Standard bathroom vanities are often around 30 to 32 inches tall, with depths commonly in the 17 to 21 inch range. Small-bathroom vanities are frequently 18, 24, or 30 inches wide, and compact or “space-saver” models can be even shallower. Keep in mind that the interior usable space is smaller than the outside dimensions because of the cabinet frame, the door hinges, and the face frame lip at the opening.
What to measure
- Interior width at the door opening, not just inside the cabinet. The opening is often narrower than the space behind it, and anything you buy has to pass through it.
- Interior depth from the back wall to the inside of the closed door.
- Height from the cabinet floor to the underside of the sink basin.
- The P-trap position: measure from each side wall to the drain pipe, from the floor to the lowest point of the pipe, and from the back wall to the front of the pipe.
- Water supply valves: note where the shutoff valves sit, because you need to reach them quickly in an emergency.
Working around the P-trap
The P-trap is the U-shaped bend in the drain pipe. It usually divides the cabinet into three zones: a usable strip on the left, a usable strip on the right, and a low area in front of or beneath the pipe. Sketch these zones on paper with your measurements. Instead of fighting the pipe, you will plan storage for each zone separately: tall, narrow organizers on the sides, and low bins or a pull-out tray underneath.
Step 2: Set Up Your Under-Sink Space
- Empty everything. Take every item out so you can see the full cabinet.
- Check for leaks. Look for drips, water stains, or soft spots on the cabinet floor. Fix or report any leak before you organize, especially if you rent.
- Clean and dry the cabinet. Wipe it down and let it dry fully to discourage mildew.
- Sort and declutter. Group items into categories: daily toiletries, backups, cleaning supplies, hair tools, and first aid. Throw out anything expired, dried up, or unused.
- Decide what belongs here. Under the sink is best for backups, cleaning supplies, and items you use a few times a week. Daily essentials may be better in a drawer or medicine cabinet.
- Map items to zones. Assign each category to the left side, right side, the area under the pipe, or the door.
- Install organizers and label them. Add your organizers one at a time and test that the door closes and the pipes are still accessible.
12 Under Sink Organization Ideas for a Small Bathroom
1. Add a Two-Tier Organizer That Fits Around the Pipe
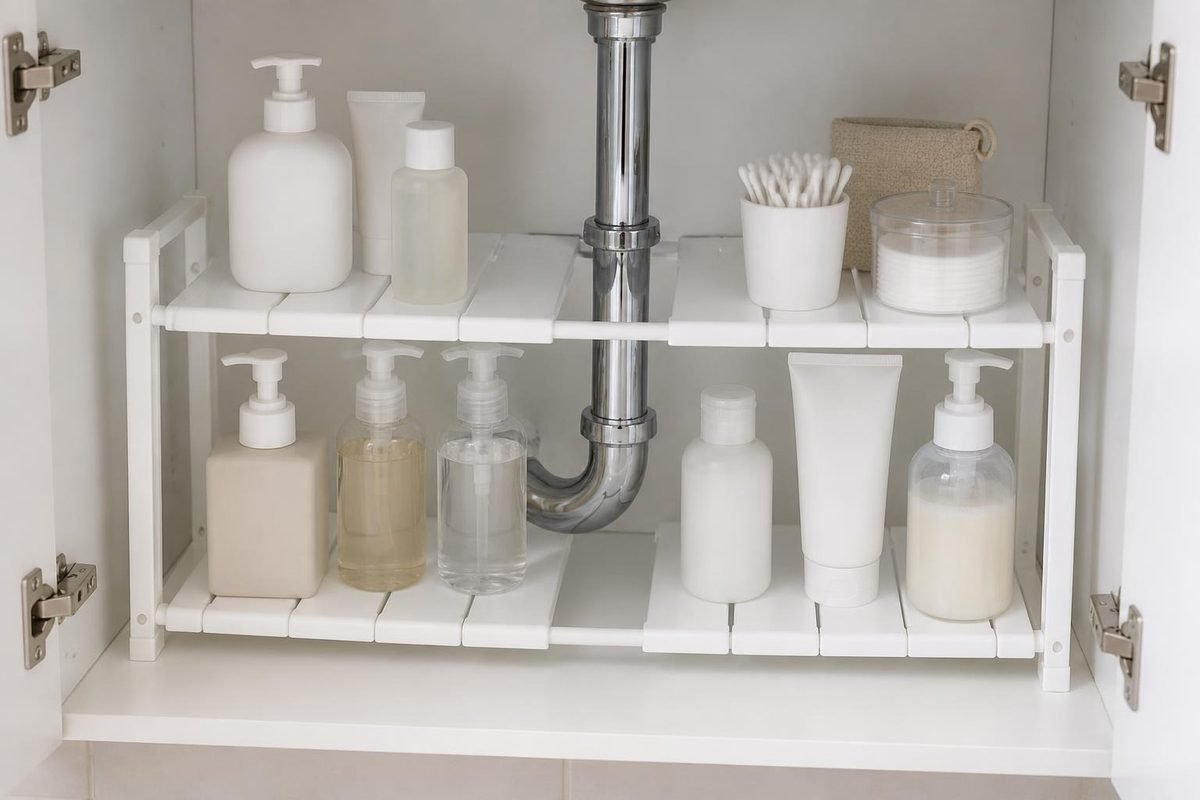
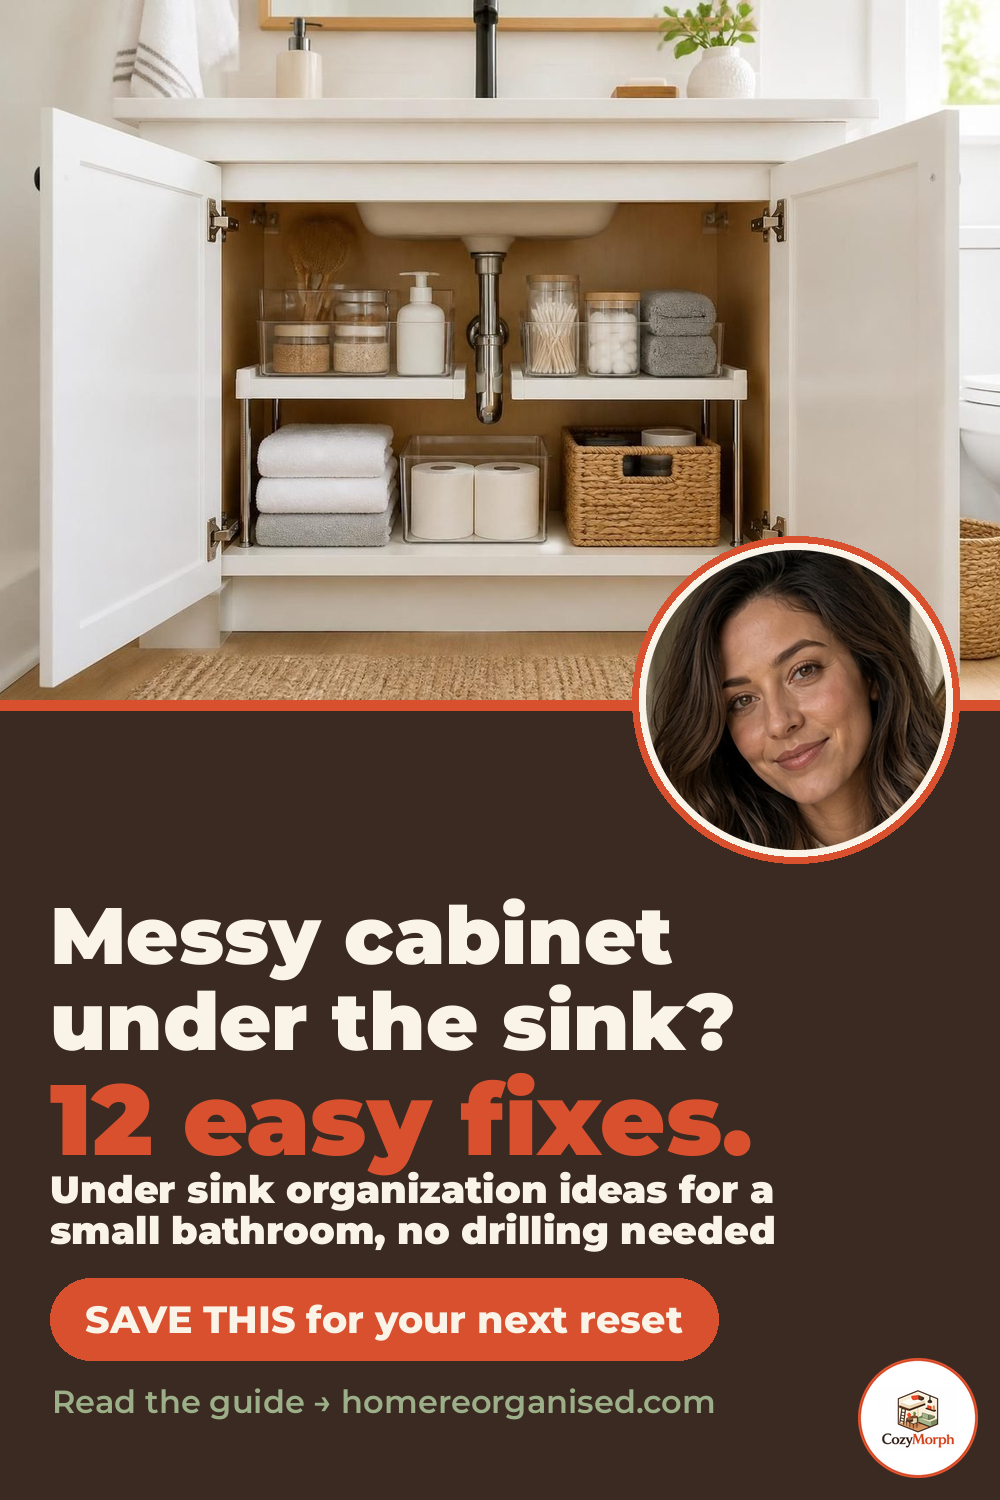
Expandable under-sink shelves have adjustable or removable sections that straddle the P-trap. Measure the distance between your side walls and the pipe width first, then look for a model whose width range matches. Put taller bottles on the bottom tier and shorter items on top. An expandable under-sink organizer is often the single most useful item for this space.
2. Use Pull-Out Drawers for the Back of the Cabinet
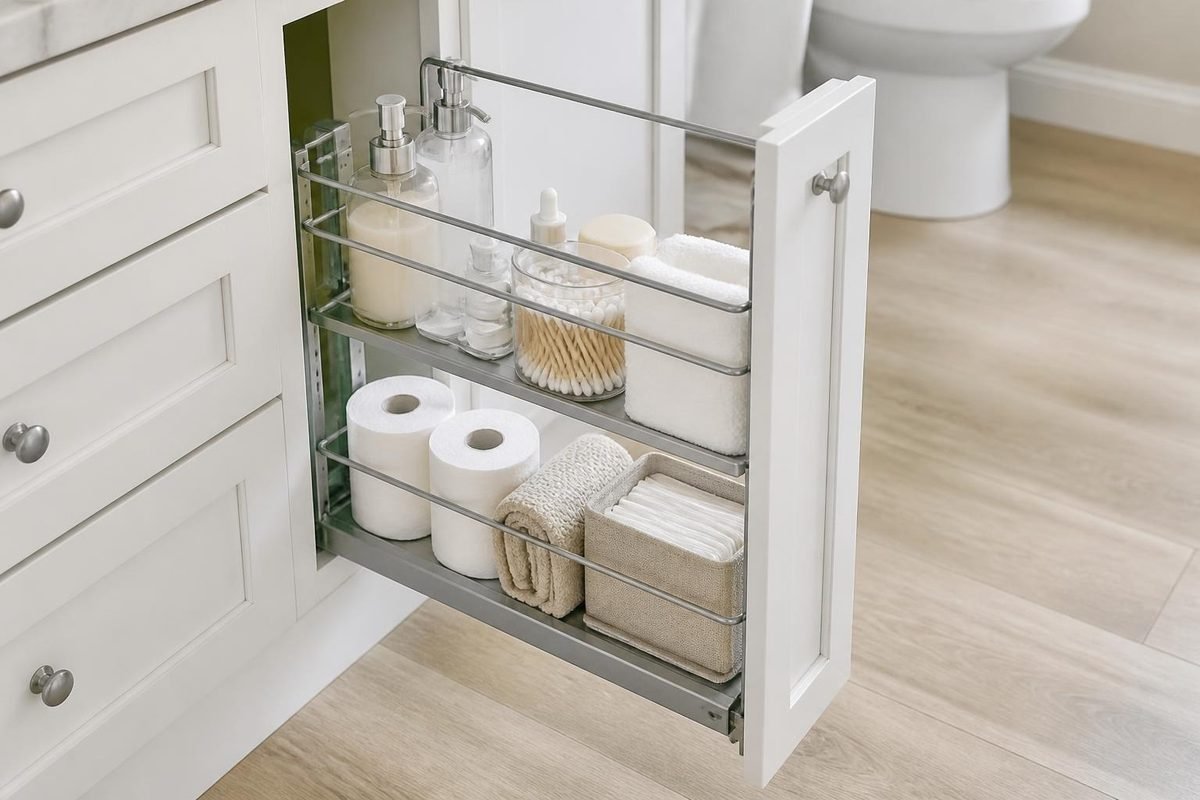
Items at the back of a deep cabinet get forgotten. A sliding drawer or pull-out basket brings everything forward when you need it. Measure the depth and make sure the drawer is a little shorter than the cabinet so the door still closes. Pull-out cabinet drawers that sit freely on the floor are a good option for renters because they need no screws.
3. Go Vertical with Narrow Stacking Drawers
The strips beside the pipe are often only 6 to 10 inches wide but tall. Narrow stackable drawers turn that height into usable storage for cotton pads, razors, and travel-size products. Measure the height to the underside of the basin and leave an inch of clearance.
4. Use Clear Bins to Group by Category
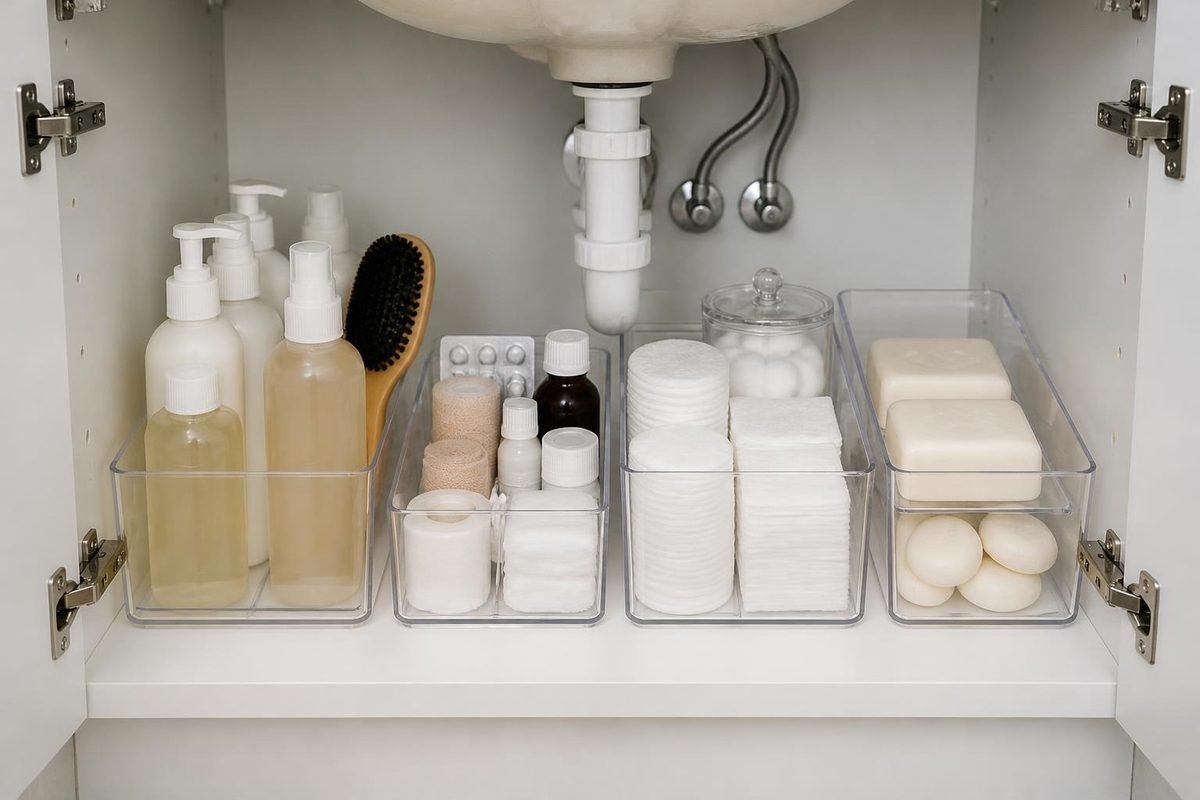
Clear, lidless bins let you see contents at a glance and lift out a whole category at once. Choose bins with handles so you can pull them out without reaching. Clear bins with handles work well for backup toothpaste, soap, and first aid supplies.
5. Put a Turntable in the Corner
A small turntable makes the hard-to-reach back corners useful. Spin it to bring bottles forward instead of knocking things over. Turntables with a raised edge keep items from sliding off. For more on making corners work, see our guide to lazy Susans for corner cabinets.
6. Hang a Tension Rod for Spray Bottles
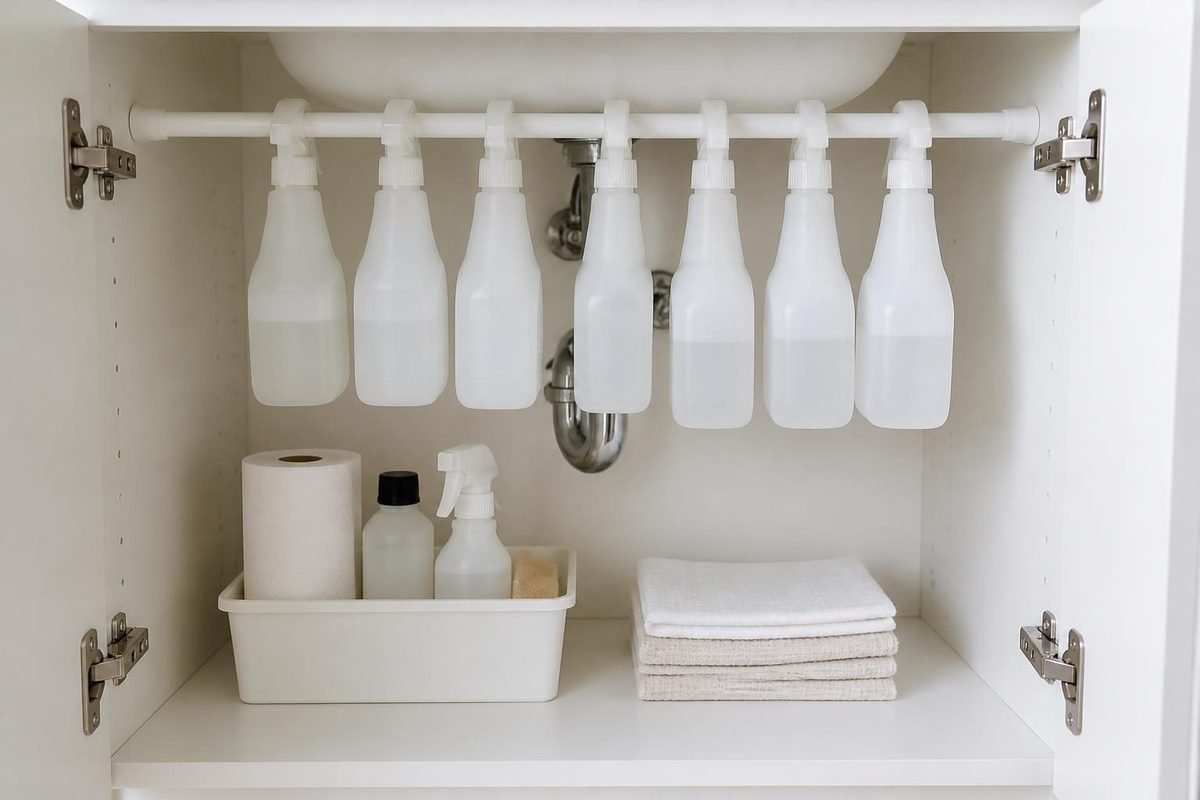
Install a tension rod across the top of the cabinet, in front of or behind the pipe, and hang spray bottles by their triggers. This frees up the cabinet floor completely. Measure the interior width at the height you plan to use and choose a rod that adjusts to that range. A small tension rod is inexpensive and leaves no marks when removed.
7. Use the Inside of the Cabinet Door
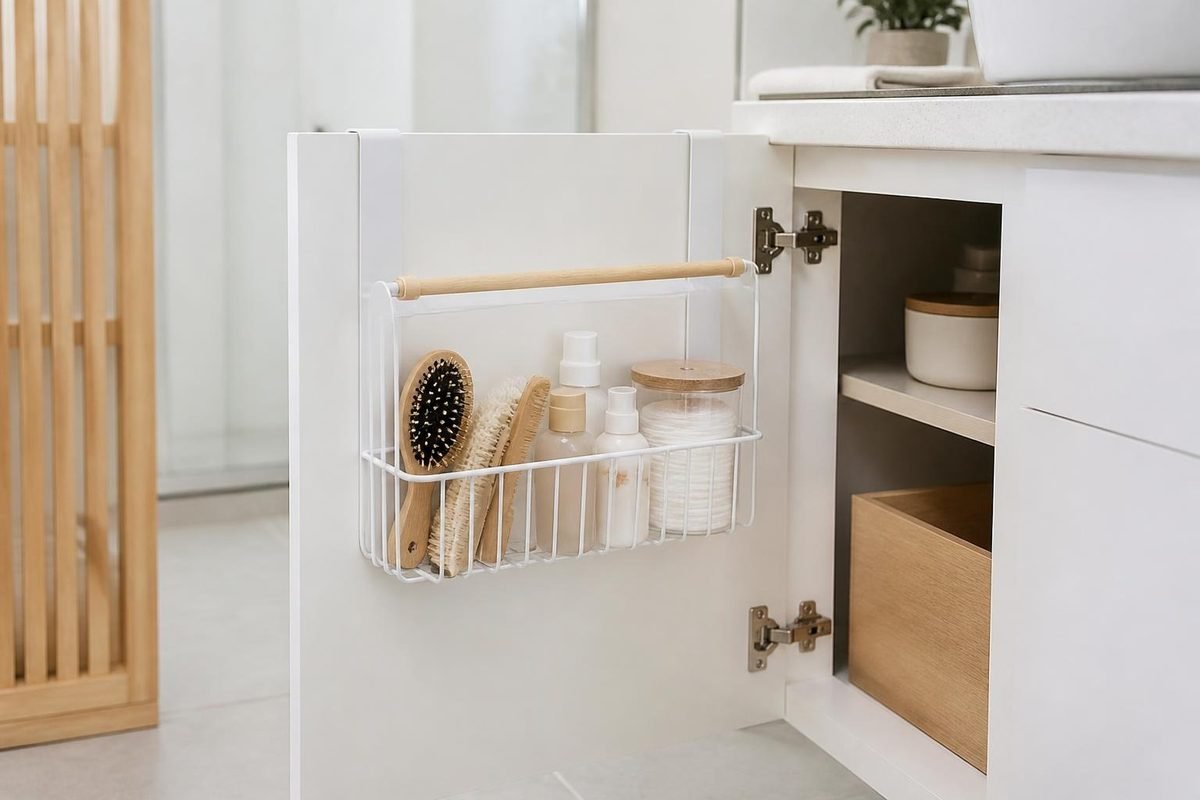
The door is free storage. Attach adhesive hooks or a slim over-the-door caddy for hair tools, a small dustpan, or a bag of cotton rounds. Before you install anything, close the door slowly and check that items will not hit the pipe or the front of shelves inside. A slim adhesive door organizer keeps it renter-friendly.
8. Create a Hair Tool Holder
Hair dryers, curling irons, and straighteners are bulky and tangled. A door-mounted holder or a tall bin with dividers keeps each tool upright. Let hot tools cool fully before storing them in a cabinet.
9. Line the Cabinet Floor
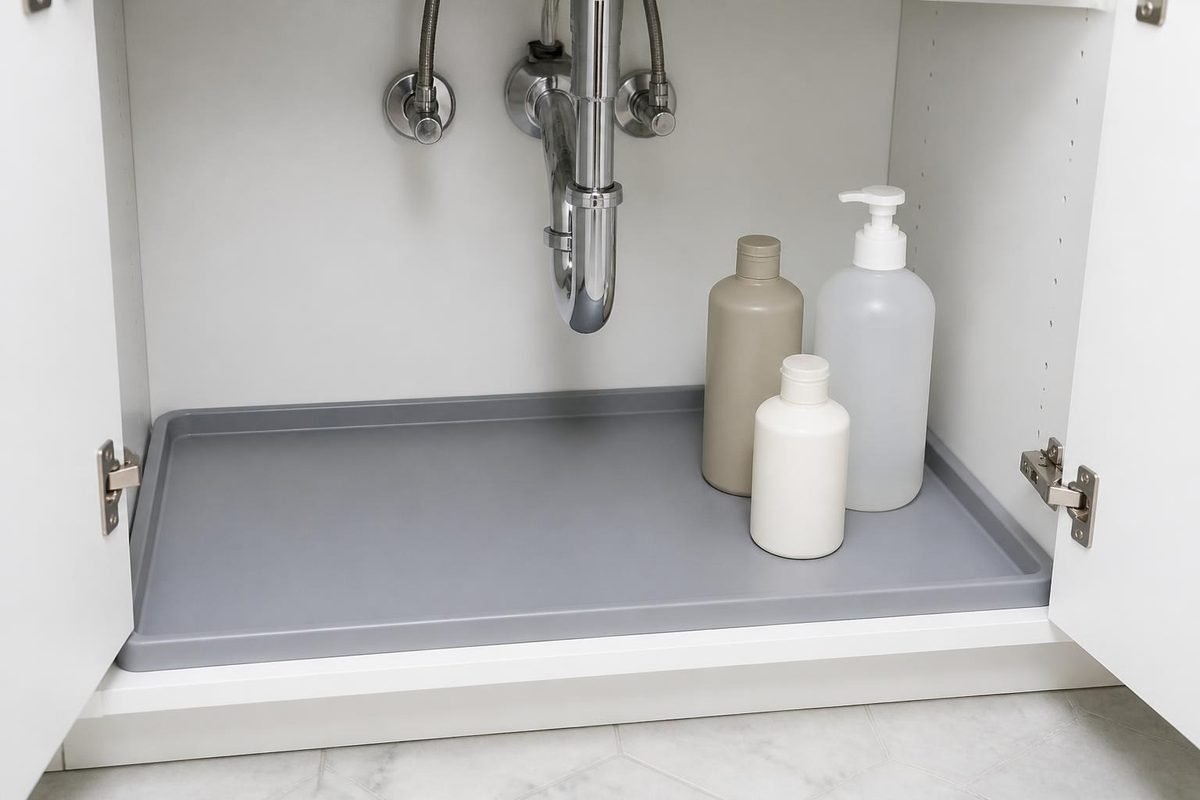
A waterproof liner protects the cabinet floor from drips and makes cleanup easy. Choose a liner with a raised edge to catch spills from a slow leak, which also helps you spot a problem early. A waterproof under-sink mat can be trimmed to fit around the pipe if needed.
10. Store Toilet Paper Vertically
Spare rolls take up a lot of room. Stack them in a tall, narrow bin on one side of the pipe, or keep only two or three under the sink and store the rest elsewhere. Overstocking is one of the biggest causes of a cramped cabinet.
11. Decant and Downsize
If bulky bottles will not fit, buy smaller sizes for the bathroom and keep the larger backups in a closet. You can also decant cleaning products into slim, labeled bottles. Always label decanted products clearly and never mix cleaning chemicals.
12. Label Everything
Labels help everyone in the home put things back in the right place. Use simple waterproof labels on bins and drawers, such as “Backups,” “Cleaning,” and “First Aid.” Waterproof label tape holds up better than paper in a humid bathroom.
Looking for more ways to make a compact home work harder? Our guide to maximizing your space with creative solutions for small homes covers storage ideas for every room.
Cheap DIY Under-Sink Ideas
You don’t need a full set of new organizers. Try these low-cost fixes first:
- A tension rod across the cabinet to hang spray bottles (idea #6)
- Removable adhesive hooks inside the door for a hair dryer cord or cleaning cloths
- One inexpensive plastic bin per category, such as hair, cleaning, and backups
- Shelf liner cut to size, so drips are easy to wipe up
- A turntable or small tray you already own for the back corner
Mistakes to Avoid
- Buying before measuring. Measure the door opening, depth, and pipe position first.
- Blocking the shutoff valves. You should be able to reach them in seconds without removing anything.
- Storing cleaning chemicals where children can reach them. If you have young children, add a childproof cabinet lock or store harsh chemicals elsewhere.
- Ignoring moisture. Do not store paper products or towels directly on a damp floor. Check for leaks regularly.
- Overfilling the space. Leave a little breathing room so items do not fall when you open the door.
- Using permanent fixes in a rental. Stick with freestanding, tension, and removable adhesive options.
- Stacking too high. Items that touch the sink basin or pipe are hard to remove and may get damp.
Frequently Asked Questions
How do I organize under a bathroom sink with pipes?
Divide the cabinet into zones around the P-trap. Use narrow, tall organizers on either side of the pipe, low bins or a pull-out tray beneath it, and the cabinet door for lightweight items.
What should I store under the bathroom sink?
Under the sink works well for backup toiletries, spare toilet paper, cleaning supplies, hair tools, and first aid items. Keep daily essentials somewhere easier to reach, and keep chemicals out of children’s reach.
How do I measure for an under-sink organizer?
Measure the interior width at the door opening, the depth from the back wall to the closed door, the height to the underside of the basin, and the distances from each side wall to the drain pipe.
Are there renter-friendly under-sink organizers?
Yes. Freestanding shelves, pull-out drawers that sit on the cabinet floor, tension rods, and removable adhesive hooks all work without drilling or permanent changes.
How can I keep the cabinet under the sink dry?
Use a waterproof liner, fix any leaks promptly, wipe up spills, and avoid storing absorbent items directly on the cabinet floor.
What should you not store under the bathroom sink?
Skip anything that moisture or heat can damage. Medications keep better in a cool, dry place than in a humid bathroom, and loose paper goods or electronics can be ruined by one small leak. Don’t wedge heavy items against the pipes or drain. If young children live with you, store cleaners up high or behind a childproof latch instead.
Conclusion
A small bathroom vanity can hold far more than you might expect once you plan around the pipe instead of against it. Start by measuring carefully, clear out what you do not need, and then add organizers zone by zone: vertical storage on the sides, pull-outs underneath, and the door for light items. Finish with labels and a waterproof liner, and you will have an under-sink cabinet that stays organized and easy to use every day.
You might also like: How to Organize a Small Pantry Without Shelves (Renter-Friendly Ideas) and Small Laundry Room Storage Ideas That Fit Tight Spaces.
Want a simple plan to reset your home? Get the Fresh Start Home Reset Bundle or the ebook Small Space, Calm Life.